Step No. 01:
Downloading the Python Installer
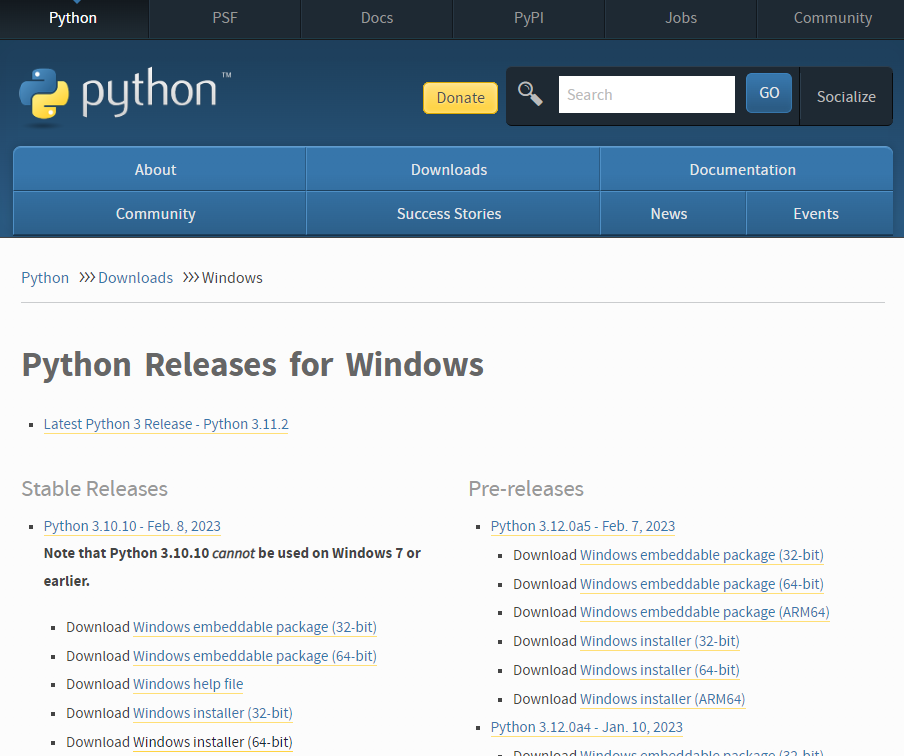
Go to the official Python download page for Windows.
Find a stable Python 3 release. This tutorial was tested with Python version 3.10.10.
Click the appropriate link for your system to download the executable file: Windows installer (64-bit) or Windows installer (32-bit)

After the installer is downloaded, double-click the
.exefile, for examplepython-3.10.10-amd64.exe, to run the Python installer.Select the Install launcher for all users checkbox, which enables all users of the computer to access the Python launcher application.
Select the Add python.exe to PATH checkbox, which enables users to launch Python from the command line.

If you’re just getting started with Python and you want to install it with default features as described in the dialog, then click Install Now and go to Step 4 - Verify the Python Installation. To install other optional and advanced features, click Customize installation and continue.
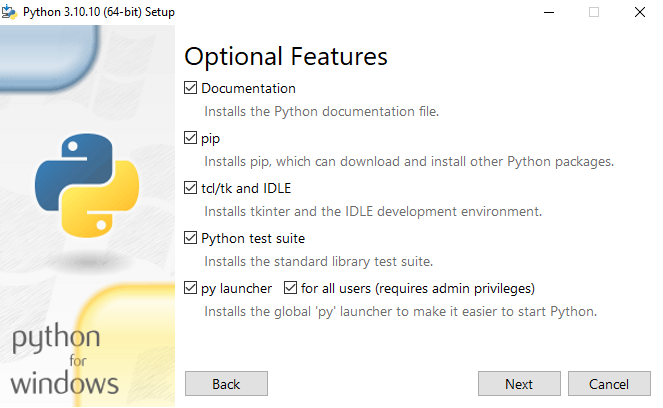
The Optional Features include common tools and resources for Python and you can install all of them, even if you don’t plan to use them.

Select some or all of the following options:
- Documentation: recommended
- pip: recommended if you want to install other Python packages, such as NumPy or pandas
- tcl/tk and IDLE: recommended if you plan to use IDLE or follow tutorials that use it
- Python test suite: recommended for testing and learning
- py launcher and for all users: recommended to enable users to launch Python from the command line
Click Next.
The Advanced Options dialog displays.

Select the options that suit your requirements:
- Install for all users: recommended if you’re not the only user on this computer
- Associate files with Python: recommended, because this option associates all the Python file types with the launcher or editor
- Create shortcuts for installed applications: recommended to enable shortcuts for Python applications
- Add Python to environment variables: recommended to enable launching Python
- Precompile standard library: not required, it might down the installation
- Download debugging symbols and Download debug binaries: recommended only if you plan to create C or C++ extensions
Make note of the Python installation directory in case you need to reference it later.
Click Install to start the installation.
After the installation is complete, a Setup was successful message displays.

C:\Program Files\Python310: if you selected Install for all users during installation, then the directory will be system wideC:\Users\Sammy\AppData\Local\Programs\Python\Python310: if you didn’t select Install for all users during installation, then the directory will be in the Windows user pathGo to Start and enter
advanced system settingsin the search bar.Click View advanced system settings.
In the System Properties dialog, click the Advanced tab and then click Environment Variables.
Depending on your installation:
- If you selected Install for all users during installation, select Path from the list of System Variables and click Edit.
- If you didn’t select Install for all users during installation, select Path from the list of User Variables and click Edit.
Click New and enter the Python directory path, then click OK until all the dialogs are closed.
Step 2 — Running the Executable Installer
Step 3 — Adding Python to the Environment Variables (optional)
Skip this step if you selected Add Python to environment variables during installation.
If you want to access Python through the command line but you didn’t add Python to your environment variables during installation, then you can still do it manually.
Before you start, locate the Python installation directory on your system. The following directories are examples of the default directory paths:
Note that the folder name will be different if you installed a different version, but will still start with Python.
Step 4 — Verify the Python Installation
You can verify whether the Python installation is successful either through the command line or through the Integrated Development Environment (IDLE) application, if you chose to install it.
Go to Start and enter cmd in the search bar. Click Command Prompt.
Enter the following command in the command prompt:
python --version
An example of the output is:
OutputPython 3.10.10
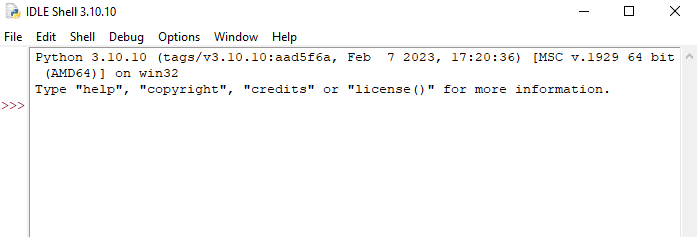
You can also check the version of Python by opening the IDLE application. Go to Start and enter python in the search bar and then click the IDLE app, for example IDLE (Python 3.10 64-bit).

You can start coding in Python using IDLE or your preferred code editor.
What we did?
We have installed Python on our Windows 10 computer and are ready to start learning and programming in Python. Bravo!! We are ready to write our firs Program in Python!


Informative
ReplyDelete